 Sara
Sara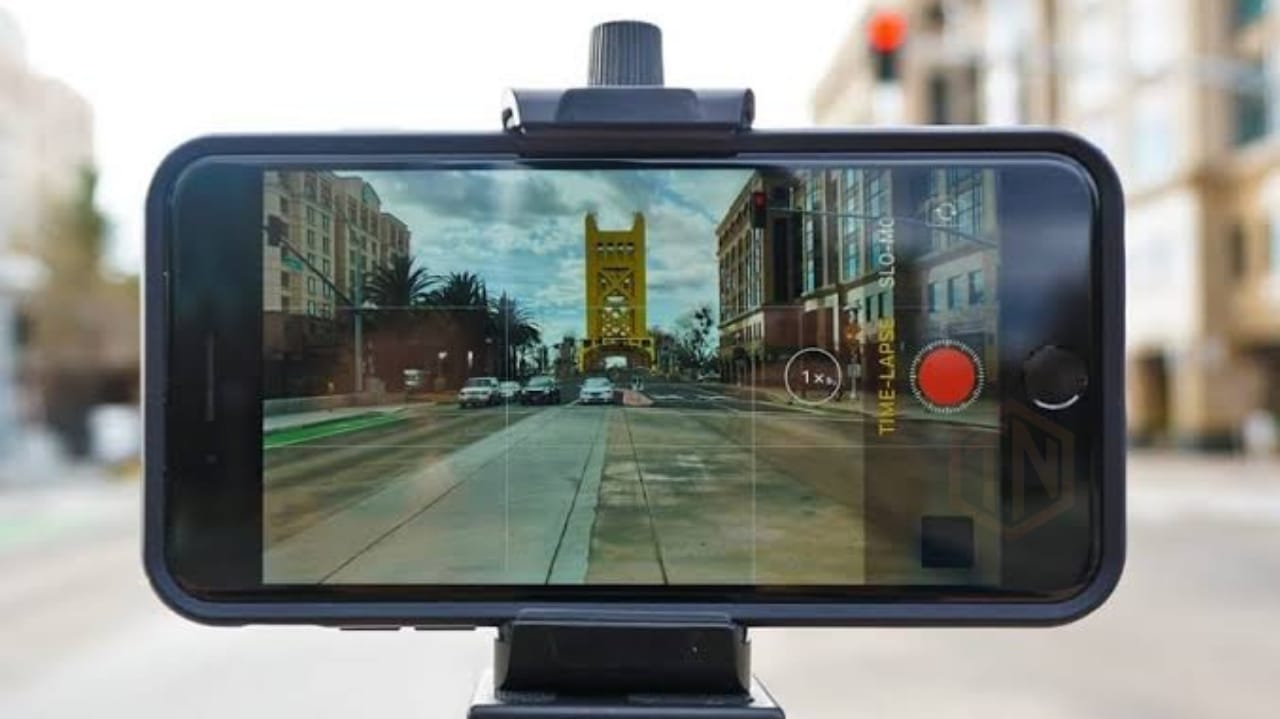
If you are one of those searching for How to time-lapse a video on iPhone then, you have reached the right place!
A time-lapse video is a condensed video of an incident or occasion that happens gradually. It compiles the images that are captured to an impression of a speed-up video. Time-lapse videos have set a trend of videos in all social media platforms and make the rush hour moments to be watched at average speed. The iPhone makes it a child's play in the case of the time-lapse videos on learning. Since they can be instantly made in the camera app and also makes you cherish the moments.
So, to make it easy for the beginners, we are presenting you with a tutorial for how to time-lapse a video on an iPhone.
Table of Contents
How does the Time-Lapse Feature Work on an iPhone
Time-lapse mode is a feature of the standard iPhone camera app that can be accessed in the same manner as video and still photo modes. Whenever you choose time-lapse mode, the camera app automatically records videos at 1-2 frames per second rather than 30 frames per second.
No matter how long you shoot, the majority of iPhone time-lapse movies last for 20 to 40 seconds. That's because the end effect will be more dramatic the longer you record because there will be fewer frames captured per second.
Time-Lapse a Video on an iPhone Using the Mobile Camera
Making time-lapse videos on the iPhone is simple and can be done through the Camera app. So follow the below given steps to create time-lapse video on iPhone.
Step-01: Open camera app
Unlock your mobile phone and navigate to mobile phone icons and then tap on the camera icon.
Step-02: Click on TIME-LAPSE option
Swipe right on the camera option and then hit on the Time Lapse option.
Step-04: Select the focusing area
After placing your iPhone on a tripod stand, tap and hold the area you wish to focus.
Step-05: Click on Record Button
Now select the record button for recording the video.
Step-06: Again tap on Record Button
Once you are done with recording a video, then again tap on the record button to stop the video recording.
How to Time-Lapse a video on an iPhone using various apps
A time-lapse video can be created from a regular video using a variety of tools. In this section, we'll introduce you to the tools for creating Time-Lapse videos on the iPhone. So don't skip the below section.
1. Time-Lapse a video on an iPhone using iMovie
The iMovie application will help you to convert any regular video to time-lapse. It is the oldest and best app for converting any types of videos, photos to time-lapse
Step-01: Open iMovie
Unlock your mobile and tap on the iMovie icon to open it.
Step-02: Create a New Project
Now tap on the plus icon to create a new project.
Step-03: Select Movie option
Tap on Movie option appeared at the bottom of the new project.
Step-04: Tap on Create Movie option
Now select the video that you require time-lapse and then tap on the Create Movie option.
Step-05: Hit the Video
Tap the video in the timeline.
Step-06: Hit on the Clock option
Tap the clock option present in the left bottom.
Step-07: Drag the Speed slider
Now tap and drag the speed slider to the right.
Step-08: Hit on the Done option
Now select the Done option present in the top left corner.
Step-09: Select the Share icon
If you want to share the video with your colleagues then you can select the share option which is present below and you can also save the video by tapping on the save video option.
Step-10: Check your Camera roll
Now you should wait for the video to export and after exporting the video will be available in your camera roll.
2. Time-Lapse a video on an iPhone using Slow Fast Slow
Slow Fast Slow is one of the easiest applications for Time-Lapse videos. The videos which are created through this app are incredibly attractive. So if you are searching for an application other than iMovie, we suggest Fast Slow Fast will meet your expectations. So follow the below steps to Time-Lapse a video on iPhone.
Step-01: Download Slow Fast Slow
You can get access to the Slow Fast Slow app through the app store. After installing, open the app by tapping on the icon.
Step-02: Import the Video
Now import the video that you wish to make a time-Lapse from the Photo Library.
Step-03: Choose the Right speed
Select the required speed for the video
Step-04: Check the Audio pitch
Make sure that the audio pitch is clear even when the video speed is increased.
Step-05: Explore the video
Once all the steps are completed, you can explore the video in original quality.
Bottom Line
In this article, we discussed how to time-lapse a video on an iPhone. We hope this tutorial makes you utilize the iPhone's time-lapse feature and make sure the results are great on the first trial. If you have any doubts, post it in the comment section. Stay tuned for more updates.
Frequently Asked Questions
These are some commonly asked questions related to How to Time-Lapse a video on an iPhone
01. How long can the iPhone record the time-lapse?
Using the time-lapse tool on the iPhone camera app, you can condense hours or even days of recording into 30 to 40 seconds.
02. What are the steps involved to time-lapse a video on an iPhone?
Step-01: Open camera app
Step-02: Click on TIME-LAPSE option
Step-04: Select the focusing area
Step-05: Click on Record Button
Step-06: Again tap on Record Button


Leave a Reply