 Tech Nukti
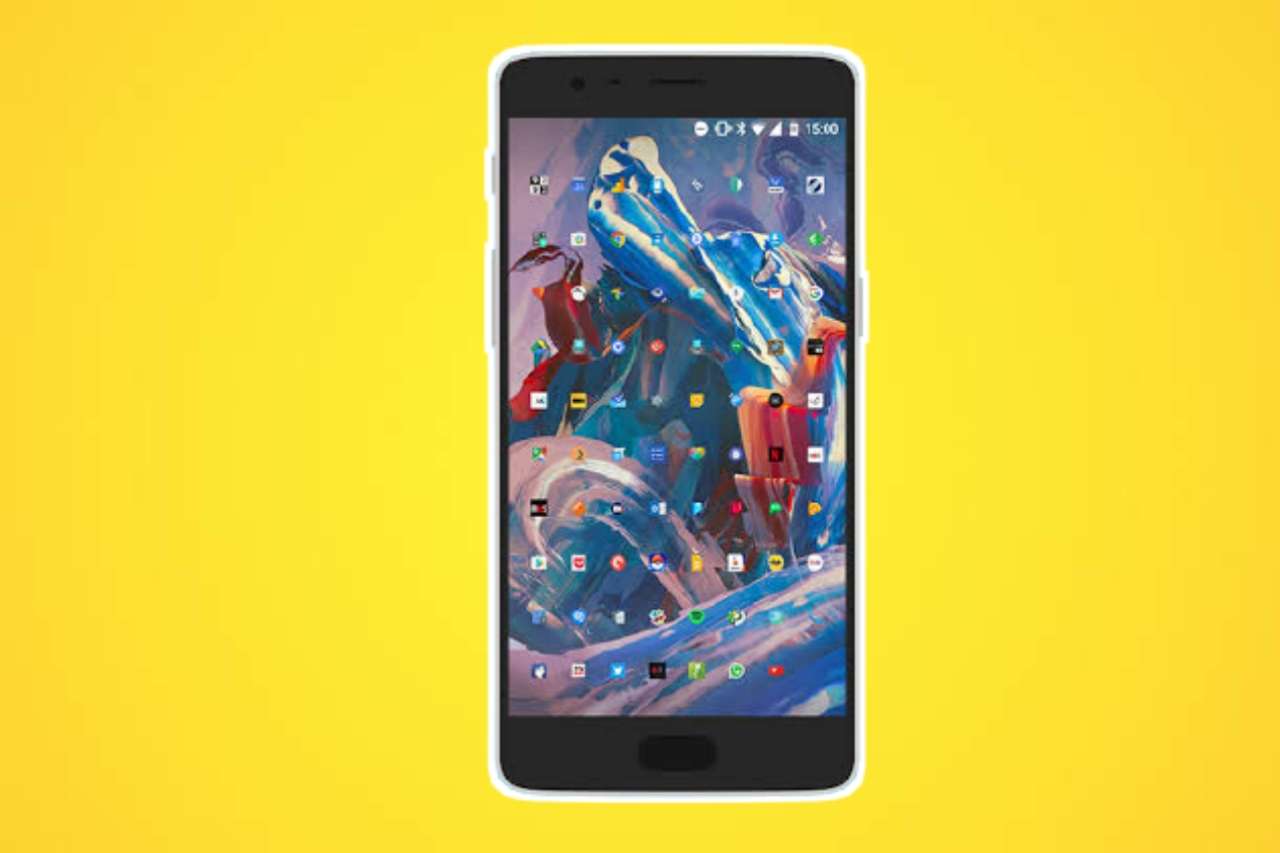
How to customize the application Menu on your phone (with Lens Launcher application)
With the upsurge in the daily usage of smartphones and tablets, there has been an increased demand for appearance-enhancing apps. Users are more inclined towards the launchers that can help customize their App Menu along with user-oriented features. It is where the Lens Launcher application comes in handy. This article will read the different aspects of this launcher application, including Downloading, Installation, and Setup process.
How to Download and Install Lens launcher app?
Here, we will shed light on the Installation procedure with every included detail.
Step-1: In your android smartphone, open the Google Play Store application. Otherwise, you can click on the link below.
Step-2: In the Play Store, search “Lens Launcher” and find the application.
Step-3: Then, click on the Download button and let the app auto-install on your device. The application would install and then tap on Open.
Step-4: Allow for the required permissions, if any.
With this, the "Lens Launcher" application will get successfully installed on your Smartphone.
Installation Procedure of Lens Launcher
After the successful installation process, we will take you through the setup process via a step-by-step guide.
Step-1: On opening the Lens Launcher application, you will land on the home page, where you get four options, namely icon size, Distortion Factor, Scale Factor, and Animation Time.
Step-2: Customize the icon size that will appear by sliding the dot below the Icon Size section. Similarly, you can adjust Distortion Factor and Scale Factor as per the individual requirement. One convenient feature is the availability of a quick display for the App Menu, which will show you the changes you will make in these options.
Step-3: Now, set the Animation time under this LENS section as you want your launcher to be delayed in animating.
Step-4: Moving to the APPS section, you can hide the application which does not want to be listed in the main menu by clicking on the eye button. Besides, you get the functionality to uninstall and get to the info page of specific apps on your Smartphone.
Step-5: In the SETTINGS section, you get various settings options. We have listed the settings that you can do to customize this launcher.
- Icon Pack will let you use the additionally downloaded icon packs or the default one already installed on your phone.
- The Home Launcher option will let you change the priority of the active app launcher for your device.
- Night Mode Theme will give you four options to set the themes. You get to set the theme to Dark, Light, Auto, or Follow system (this one selects the theme which your phone has applied).
- The background option will let you set the custom wallpaper or the solid color as per your requirements.
- Lastly, you can choose to set the vibration ON/OFF on hovering over the apps and launching, show the application name while hovering, show the touch selection.
Final Words
It brings us to the end of this article, apprising us of every included option to efficiently customize the Lens Launcher app. Hope! You would have understood better about this app and can give your Smartphone a tempting Fisheye look.


No
Chandb
Husband number 2
Bhai lens nahi ho raha he