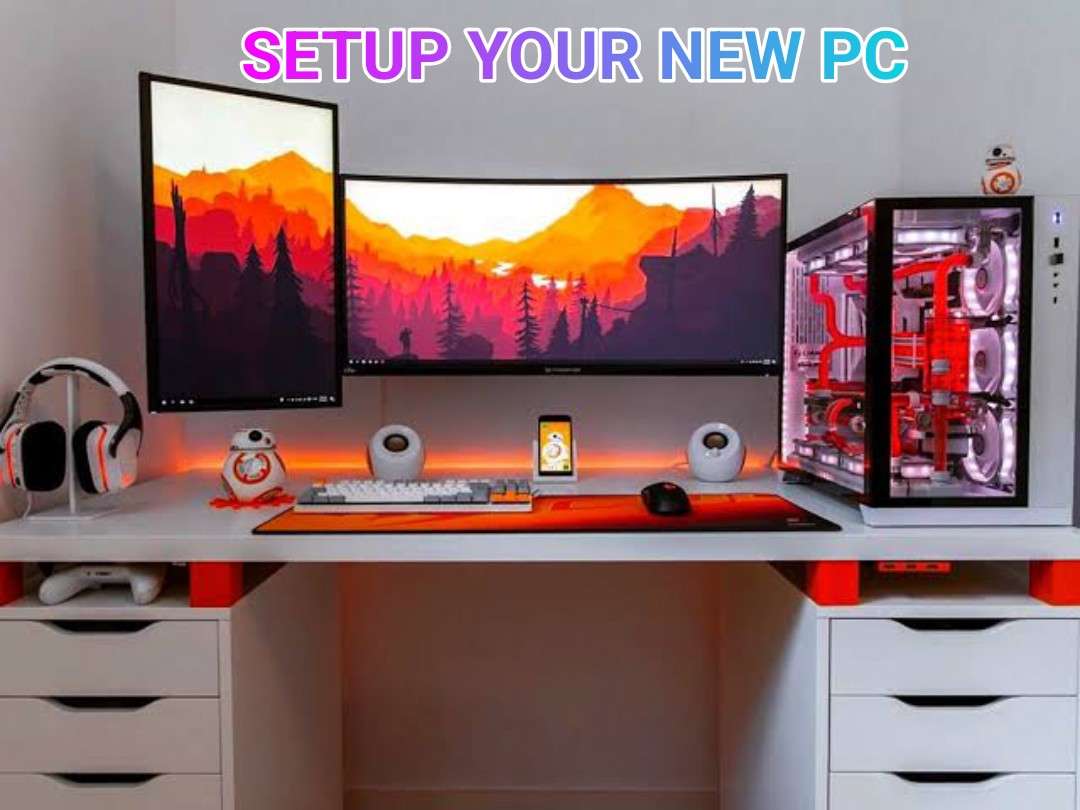
Have you purchased a new computer and wondered how to connect or set it up? Don’t worry; here, we will guide you on setting up your pc correctly. Setting up a PC may seem complicated, but it's easier than you think. It doesn't matter which brand of computer you have because most computers are set up in the same way.
Setting up a new PC lets you personalise your device exactly how you want it. Doing things correctly the first time will save you time and money in the long run and security issues. Here are a few basic steps that will guide you through setting up your pc,
Table of Contents
Step- 1
First, remove the monitor and computer case from the package. Remove any protecting tape or plastic covering. Place the monitor and computer case on a work surface such as a desk or a table.
Ensure your computer case is in a well-ventilated environment with plenty of airflows. That will assist in keeping the PC from getting too hot.
Step- 2
Monitor cables come in various shapes and sizes and track down the monitor cable.
If you're having difficulties finding your monitor cable, check your computer's instruction manual (You can skip to Step 4 if you have an all-in-one computer built into the display.)
Step-3
Connect one end of the cable to the monitor and the other to the monitor port on the back of the computer box.
Many computer cables are designed to fit in a specific way. If the cable does not fit, do not force it; otherwise, the connectors may be damaged. Connect the plug after ensuring it is matched with the port.
Step- 4
Unpack the keyboard to see if it has a USB (rectangular) or PS/2 (round) port. Plug it into any USB ports on the back of the computer if it has a USB connector. Plug it into the purple keyboard port on the rear of the computer if it utilises a PS/2 connector.
Step- 5
Determine whether the mouse has a USB or PS/2 connector by unpacking it. Plug it into any USB ports on the back of the computer if it utilises a USB connector. If it has a PS/2 connector, attach it to the front of the computer's green mouse port.
If your keyboard includes a USB port, you can attach it to the keyboard instead of connecting your mouse to your computer.
You may need to connect a Bluetooth adapter (USB adaptor) to your computer if you have a wireless mouse or keyboard. Many PCs, however, come with built-in Bluetooth; thus, an adapter may not be required.
Step- 6
You can connect external speakers or headphones to your computer's audio port if you have them (either on the front or back of the computer case). Colour-coded ports are found on many computers. The green connector is for speakers or headphones, while the pink connector is for microphones. The line in the port is blue and can be utilised with various devices.
Instead of the standard audio plug, certain speakers, headphones, and microphones have USB connectors. Speakers or headphones can plug into any available USB port. In addition, many PCs come with built-in speakers or microphones.
Step- 7
The two power supply wires that come with your PC should be identified. The first power supply wire should be plugged into the back of the computer case, followed by a voltage converter. Connect the monitor to the voltage converter with the other wire.
Step- 8
Last but not least, connect the voltage converter to a wall outlet. If the voltage converter has a power switch, you may also need to turn it on.
You can plug the computer directly into the wall if you don't have a voltage converter. However, this is not recommended because electrical shocks can harm your computer.
Step-9
You can now connect devices such as a printer, scanner, webcam, or other devices. Many devices are plug-and-play, meaning that they will be identified by your computer as soon as you plug them in.
Other devices may come with software that must be installed before use. If necessary, follow the installation instructions that came with the device.
Other devices are generally optional, and you can add new ones at any time; you don't have to add all devices during your computer's initial setup.
How to Personalised Your Computer
Customise your new PC to make it uniquely yours. Choose your desktop background, colour theme (including dark or light mode as a default), themes, fonts, and what you see in the Start menu and taskbar by going to Start > Settings > Personalization.
Also,Read - How to Install and Move Xbox PC Games to Any Folder
Set up Bing, Microsoft's assistant. Bing functions similarly to Siri as a personal assistant. It works with voice commands and can assist with scheduling, reading, or summarising emails. Turn Bing on and off, and customise when and how you use the assistant by going to Start > Settings > Bing.
Connect your USB or external hard drive to your new computer to transfer files from your old one. A Windows message will appear, indicating that the drive has been connected and prompting you to configure what happens next time you plug in a disc (You can either do nothing or access the drive in File Explorer).
To see your files, go to Start and type "File Explorer" into the search box (a logo for the File Explorer app, which resembles a manilla folder, should also be attached to the taskbar at the bottom of the screen.) When you open the app, your USB drive will display on the left-hand menu. Click it and select the files you wish to download.
Finally, backup your new computer and save all your programs and settings if you need to reinstall Windows 10 later. Select Start > Settings > Update & Security > Backup from the Start menu. You can back up your files to an external USB or hard disc and restore them later using File History.
Conclusion
That's it, you have completed the setting up of your PC, and now it's time to explore and enjoy. Hope you have found this article helpful, and if you have any choirs, let us know in the comment section below.


Leave a Reply